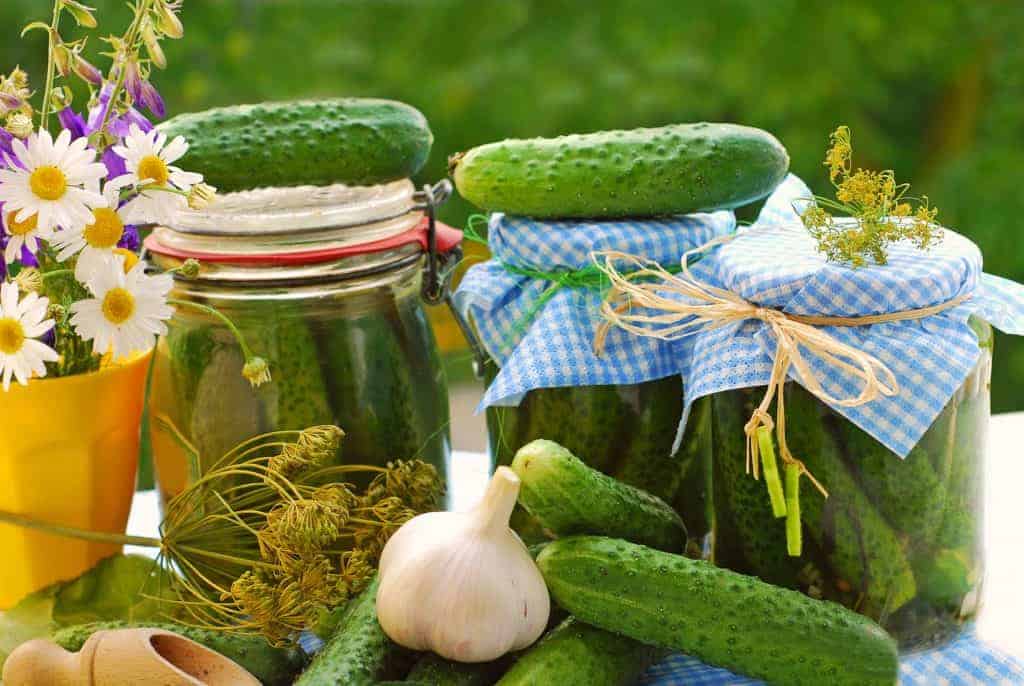
Nobody likes a soggy pickle.
And yet, in the world of fermenting, we’ve all stumbled across a soggy pickle a time or two. But don’t give up hope on making your pickle wishes come true in your very own home. We can help make it happen for you. If you’ve tried fermenting a time or two, chances are you haven’t achieved that pickle utopia. However, we encourage you not to give up, and want to remind you of all the reasons why you should continue to pickle at home. And if you’re new to or interested in learning more about fermenting for the first time, welcome. Here’s a little breakdown of the benefits of fermentation.

Full of Nutrients our Bodies Don’t Naturally Create
Fermented foods go through a process where natural bacteria feasts upon the starches and sugars within foods. This creates lactic acid, which works as a natural preservative for the pickles. This process results in the creation of many nutrients our bodies do not naturally produce. These include Omega-3 fatty acids, B-Vitamins, beneficial enzymes, and probiotics.
Probiotics
You’ve probably heard this term before. You know they’re a good thing, but don’t quite know why. Probiotics are live cultures. Don’t worry, it’s not a parasite or anything. Essentially, these cultures provide the “good” bacteria that combat the “bad” bacteria that live in our digestive systems. How do they do this? The bacterial cultures in fermented foods help break down the carbohydrates that we cannot digest on our own. Byproducts of this internal process make the pH balance in our intestines more acidic, killing off harmful organisms that might otherwise thrive in a less acidic environment. By doing this, these acid-promoting bacteria within the pickles allow the good bacteria in our guts to further establish themselves in our bellies.
Better Food Absorption
With a balanced digestive pH, your body has live enzymes available to help you better absorb the nutrients from all the foods you consume throughout the day. Upping your fermentation game can help you save money you would spend on vitamins and other supplements. Be sure to incorporate a variety of foods with various colors on your plate, fresh and fermented, to get a full range of nutritional benefits. The pigments in various foods actually contain specific phytochemicals, vitamins, and minerals. Choosing produce of different colors can be a great guide to consuming a broad range of micronutrients.
Now that you’re up to speed on the reasons to ferment at home, let’s get back to how we can make our pickles the crispy cukes we dream about? And what on earth is making them so soft? We have the answers for you.
Tip #1 – Pick the Right Cucumber
Ever hear the saying, “You get what you pay for?” It applies when it comes to pickling, so be mindful when you’re selecting your raw ingredients. If you use a bad cucumber, you’ll get a bad pickle. This is fermentation, not plastic surgery.
First and foremost, whether you are going to grow or buy your cucumbers for this process, be sure that everything is organic. This will ensure that you are not ingesting harmful pesticides or herbicides that can not only deplete the nutritional value of the produce, but have a negative effect on our bodies as well.
If you are growing your own cucumbers, it is best to pick them early in the morning while there’s still a bit of morning dew on them. As night falls, cucumbers replenish all the moisture lost during the hot daytime sun. I know. Hard life. #PickleGoals. Due to this cycle, morning harvests tend to have a crispier and juicer yield than produce picked at other times throughout the day. Mid-day picks tend to result in soft, mushy pickles.
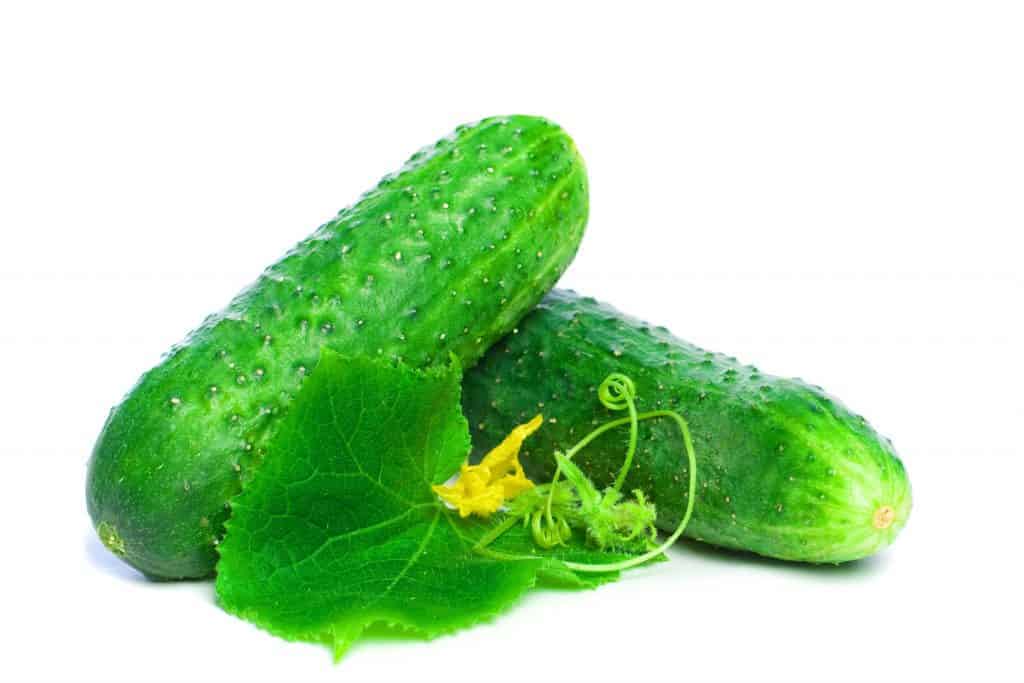
Keep an eye out for the most slender and darkest green cucumbers. They’re the crispiest!

Tip # 2 – Trim the Blossom-End of the Cucumber
Here’s a little known secret for you, there is an enzyme that cucumbers produce that can make them soften. So, if you want a crispier pickle, be sure to trim 1/8 inch off the blossom end of the cucumber.
If you are growing cucumbers at home, try to leave yourself a little bit of the stem as you are picking. This will help you later to identify which end is the blossom side because it is opposite the stem side. If you are purchasing your cucumbers, don’t fret! Simply look for the end with a rough dot on it. This is much unlike the opposite side, which is smooth and indented. The rough dot is the blossom end.
Tip #3 – Make Your Own Brine and Pickling Spice
You can go to the store and buy pickles, but why would you do that? The jars on the shelf are loaded with salt, distilled vinegar, and other additives. For a natural preservative, make your own brine at home. It will be healthier and full of ingredients you can actually pronounce.
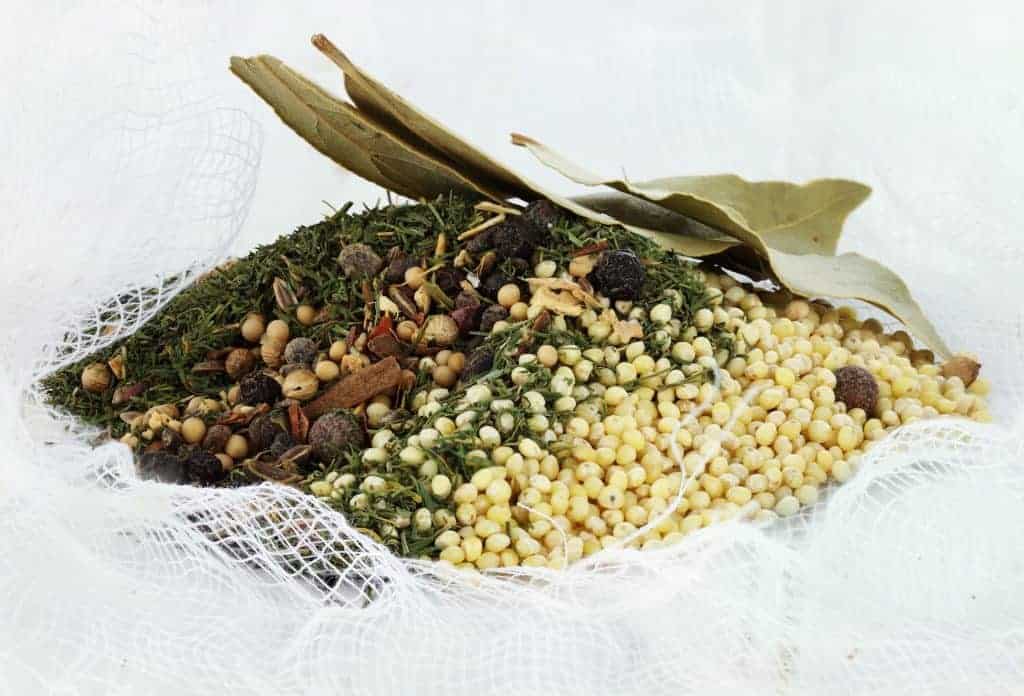
When it comes to crispier pickles, it’s even more important than making your own brine is to make your own spice blend. You can purchase pre-made pickling spices but they typically contain cinnamon. Cinnamon may taste great but is thought to soften cucumbers. So, if you want the crispiest pickles in all the land, stick to making your pickling spice at home.

Tip # 4 – Pickle in Glass
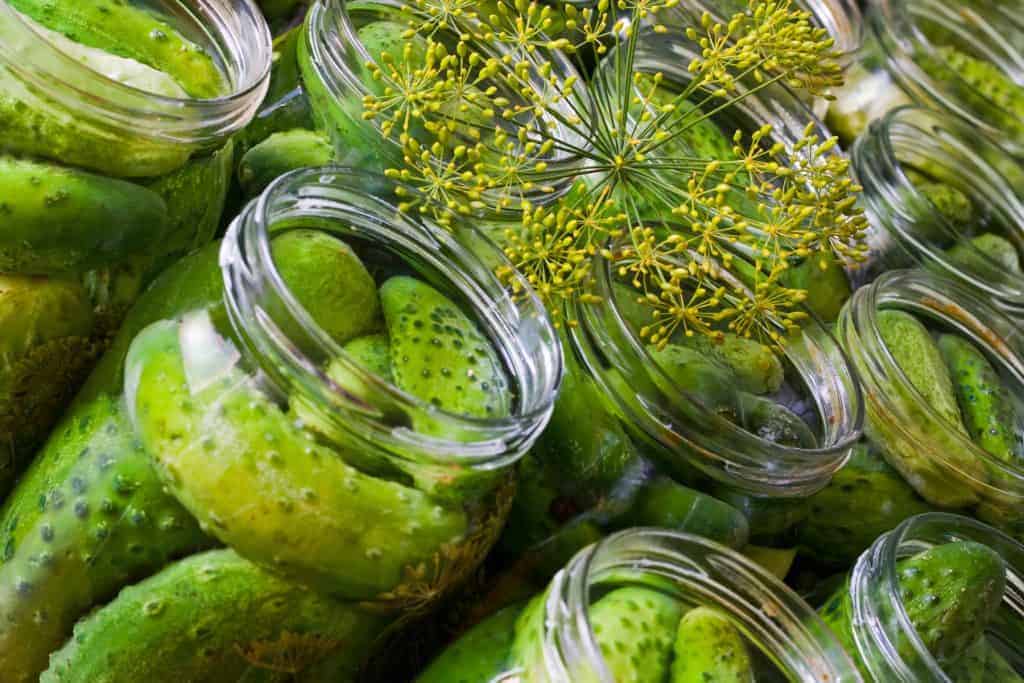
When you are ready to pickle your cucumbers, pack the pickles into an airtight glass jar to allow the proper fermentation process needed to make the healthy, delicious pickles we know and love. Glass jars are better than plastic because they do not contain BPA. They have a non-porous surface, which means that bad bacteria cannot hide and contaminate the glass. A clean glass jar is the first step to ensuring you are going to have a crispy pickle.
Now that you know the secrets to making homemade pickles stay crisp, here is a recipe for you to make some delicious pickles on your own. Oh! One last secret before you go. The Hail Mary ingredient for crispier-than-thou pickles are tannins. Tannins also give pickles some of the important sour taste required for a great pickle. Grape, oak, and horseradish leaves are great sources of tannins, and black tea leaves can also be used in a pinch to help maintain a pickle’s crispiness.
Crisp Pickles
Yield: 2 Quart-Sized Jars
Ingredients:
5 Tbsp. sea salt
2 quarts filtered water
6 tannic leaves – grape, oak, or horseradish leaves
12-18 cloves garlic, peeled
4 large heads of dill, or 2 Tbsp. dill seed (not weed)
Spices to taste: black peppercorns, red pepper flakes, whole mustard seeds, etc
Enough pickling cucumbers to fill two 32 ounce glass jars
Instructions:
- Clean jars and lids, if using them. Sterilize them with boiling water or in the dishwasher. You want them hot and disinfected.
- Make brine by dissolving 5 tablespoons sea salt in 2 quarts of filtered water, no need to boil – cooler water will help retain crispness.
- In each of the quart jars, add one of the tannin-containing leaves, 2-3 cloves of garlic, the heads of dill, and 1/6 of the spices.
- Pack one quarter of the cucumbers in each of the jars on top of the spices. (The longest ones work best at the bottom.)
- In each jar, repeat layers: one tannic leaf, 2-3 cloves of garlic, and another 1/6 of the spice mix. Add another layer of cucumbers and top off with remaining garlic and spices.
- Pour brine over the pickles, leaving approximately 1.5 inches of space at the top. Place another tannin-containing leaf on top of the pickles as a cover between the pickles and the surface of the brine. Use a fermentation weight to keep the pickles under the liquid, if necessary. Cover the jar with a tight lid, airlock lid, or coffee filter secured with a rubber band.
- Ferment at room temperature (60-70°F) for 2-6 weeks until desired flavor and texture are achieved. If using a tight lid, open to “burp” daily, releasing excess pressure. The brine will turn cloudy and the pickles should taste sour when done.
- Eat now or store in refrigerator or root cellar for months.
