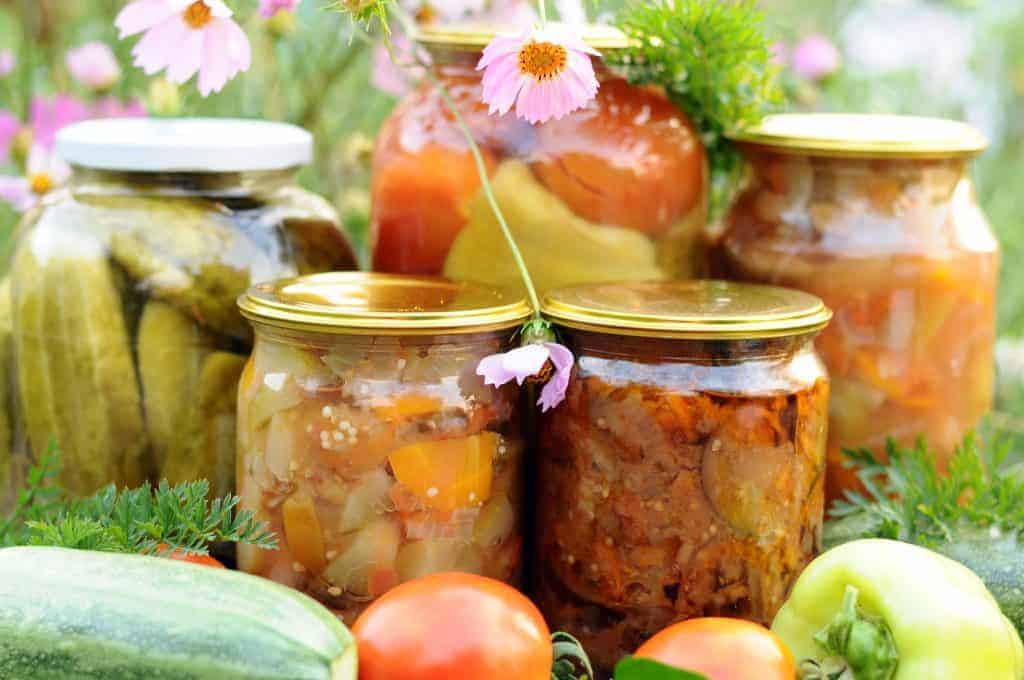
As more families try to steer clear of packaged and processed foods, it helps to know as many ways as possible to store and preserve natural foods. Fermentation is just one way that you can preserve food easily and safely.
What are fermented foods?
Fermented foods are foods that have undergone a process in which they are exposed to bacteria and yeasts. Microorganisms take care of the bacteria that’s dangerous and the resulting food is safe but a bit different than how it was originally. It acquires unique tastes, textures, and smells. Some say that fermentation demands an acquired taste while others call it their favorite way to preserve homegrown produce and more.
It’s not just about food storage either. There are plenty of health benefits associated with fermented foods, as long as you don’t cook them. The heating process removes the benefits of the healthy, probiotic bacteria.

History of fermented foods
Fermented foods aren’t anything new. Before refrigeration, there weren’t many ways to preserve the year’s harvest or extend the shelf life of certain goods. If stored properly, fermented foods can last for months, which would have been crucial for families who had to hunker down and survive a long winter without modern technology and assistance.
In some cultures, fermented foods are a way of survival. In West African countries, an important food source known as garri needs to be fermented. If not, it can be poisonous. In Eastern cultures, fermented foods are often used as natural medicines. In fact, there are links traced through history between fermented foods and health as far back as ancient Rome.
There are plenty of benefits associated with fermented foods. They’re more digestible and have increased vitamin levels. They even create new nutrients. They help to keep our stomachs full of the “good” bacteria they need to digest and properly distribute nutrients and they’re not full of artificial preservatives like so many items on the grocery store shelves. They can save money and make you feel healthier.
Organic + Fermented = Perfection
If you can, using organic foods while practicing fermentation is a great option. If fermenting vegetables, using organic will give you a lesser risk of introducing pesticide residue and other not-so-friendly components to your jars.
Organic food is often grown in better soil, which means you’ll be preserving more nutrients. You’ll also be doing your part to help the environment by purchasing organic foods.
Fermented Food Recipes
Ready to try out your own fermented foods? Here are some easy recipes to get you started.
Cultured Vegetables
Fermenting vegetables can give them an entirely new flavor. Don’t be afraid to ferment vegetables that you typically don’t like. You might be surprised!
Ingredients
Chopped or sliced organic vegetables as desired (try broccoli, radishes, and carrots)
8 cups filtered water
6 tbsp sea salt
1 gallon glass jar
Spices and herbs as desired (peppercorns, basil, bay leaf, etc.)
4 organic cabbage leaves
Directions
- Add all vegetables and spices to glass jar, leaving about an inch of space at the top.
- Stir salt and water together until dissolved.
- Pour in salt water, covering the vegetables but leaving about ½ inch at the top.
- Fold cabbage leaves and press down on top of vegetables, keeping them submerged.
- Close lid tightly and place out of sunlight in a warm area.
- Bubbles should form on the second day. Once you see bubbles appear, open the lid over a sink once or twice a day to “burp,” allowing some of the gas naturally created by fermentation to escape.
- The vegetables are ready anywhere between the fourth and tenth day. They will be tangier if they sit for longer so use your personal preference to decide when they’re done. Refrigerate to stop the fermentation process. They’ll keep for a couple of months.

Kefir
Kefir is a sour drinking yogurt that’s getting a lot of attention lately. It’s tart yet refreshing and contains beneficial yeast and bacteria.
Ingredients
4 cups milk (preferably whole fat)
4 tsp active kefir grains
1 gallon glass jar (recipe makes ½ gallon)
Clean muslin fabric
Rubber band
Small strainer
Directions
- Combine milk and grains in glass jar. Stir well.
- Cover with muslin and secure with a rubber band.
- Ferment for 12 to 48 hours at room temperature away from direct sunlight. Check the jar every few hours. The kefir is ready when it has thickened and tastes a bit tangy.
- Strain out kefir grains using the small strainer and transfer to fresh milk to start a new batch if desired. If not, preserve the grains in the refrigerator in a tightly covered glass of milk.
- Drink or refrigerate prepared kefir. It can be stored for up to one week.
Kombucha
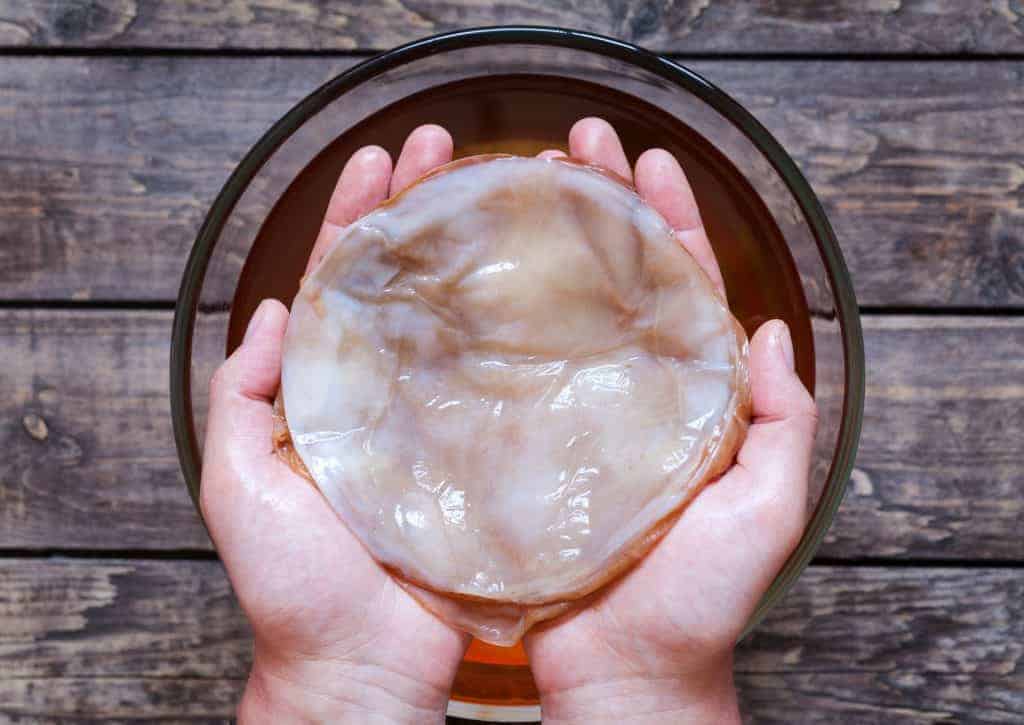
Here’s a fun and tasty drink that improves gut health. After you gather the ingredients for your fist batch, you’ll be able to continue making new batches with your SCOBY, or the mix of cultures of bacteria and yeast needed for the process.
Ingredients
1 SCOBY mother, culture, or mushroom
1 gallon minus 1 cup spring water
1 cup started liquid (included with SCOBY)
4-6 organic black tea bags
1 cup organic cane sugar
1 gallon glass jar
Stainless steel pot
Plastic funnel
Distilled white vinegar for rinsing
Clean muslin fabric
Rubberbands
Storage jars
Directions
- Clean glass jar. Do not use soap, as this will harm the SCOBY. Instead, rinse with hot water and then with vinegar.
- Clean hands well before handling SCOBY or jars.
- Brew tea in stainless steel pot. Remove tea bags and stir in sugar.
- Cool tea and pour into glass container.
- When tea reaches room temperature, add SCOBY.
- Pour in a cup of starter liquid.
- Cover jar with muslin and secure firmly with rubberband.
- Place in a warm place out of direct sunlight and allow to ferment for at least 1 week.
- After a week, taste. It should be slightly tart when ready. Keep in mind that brewing time will vary depending on individual taste and time of year/temperature.
- Kombucha can be flavored with cranberry juice, ginger, or fresh organic fruit juice as desired.
- Gather storing jars and remove SCOBY from large glass jar. Preserve SCOBY in a clean jar with a cup of liquid.
- Place flavoring in separate jars and pour in kombucha, using a plastic funnel, leaving a little space on top.
- Seal and leave out for 1-3 days. Be sure to monitor to make sure they aren’t building up too much carbonation. Store somewhere safe just in case jars crack.
- When satisfied with carbonation level, place in refrigerator.
